
Note: requires Vector Pro licence.
To Set up a Venue in the OpenField Console
- Download Google Earth onto the PC.
- Prepare and save a KML file of the venue using Google Earth.
- Import the KML file into the OpenField Console.
- Set the Venue as the default venue for the next Activity.
- Set an overlay (only applicable when a Test Field is set as the default field in the Configuration menu prior to an Activity).
Step 1 - Download Google Earth onto Your PC
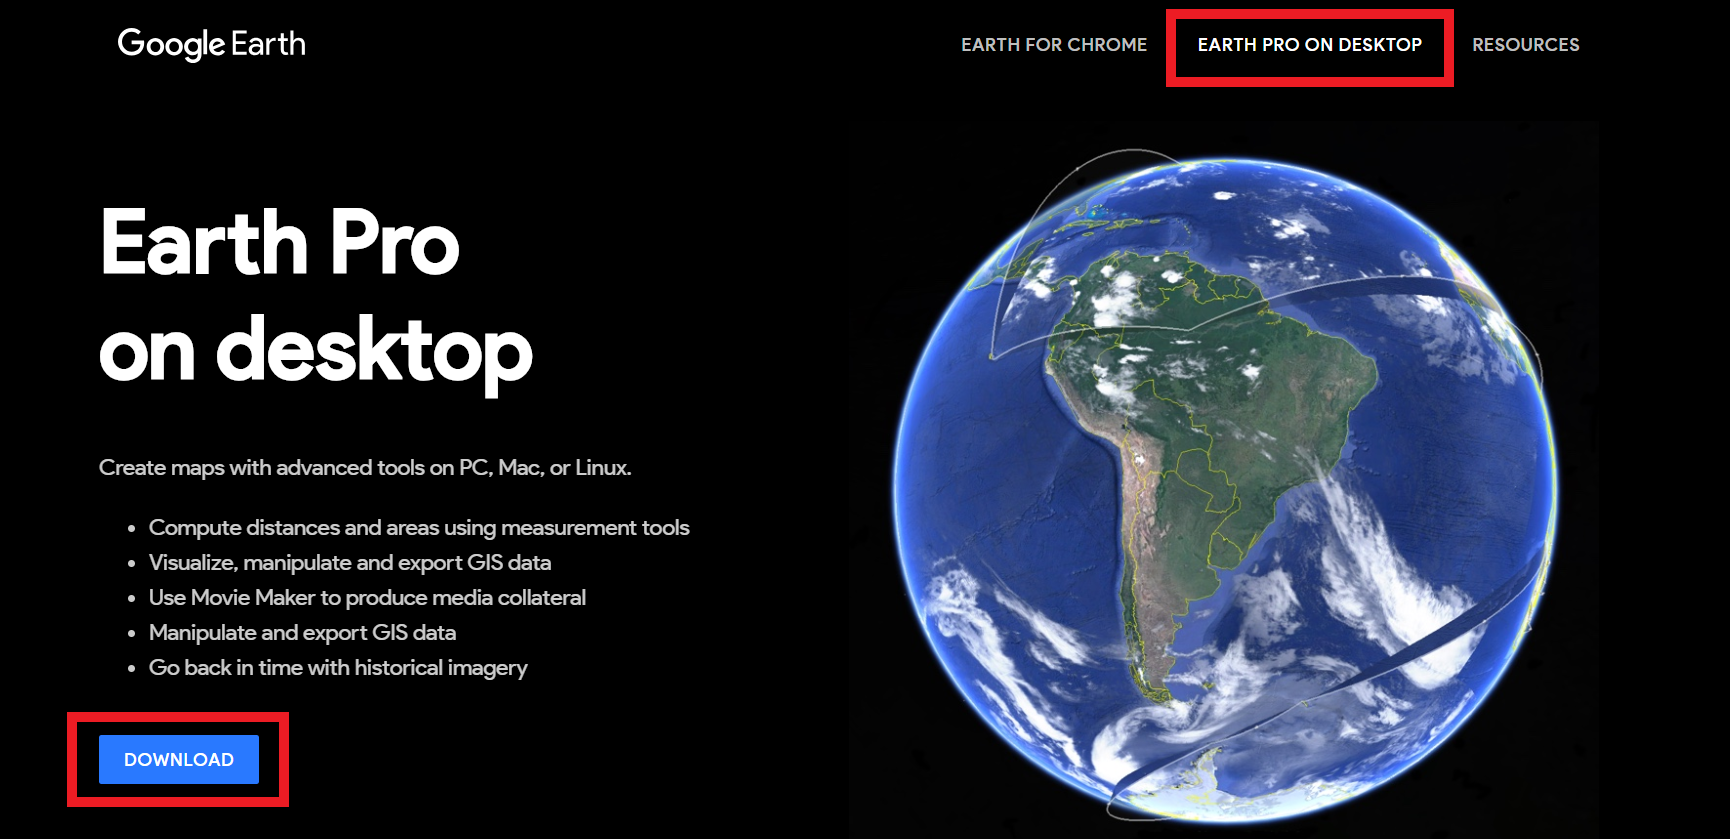
- Install Google Earth onto your computer. Navigate to http://www.google.com/earth/
- Select Earth Pro on Desktop.
- Select Download.
Step 2 - Prepare and Save a KML File of the Venue Using Google Earth
Create a new folder for the Venue in Google Earth
- Open Google Earth on your computer.
- Create new folder for the venue under 'Places' by right clicking on My Places.

- Click Add.
- Click Folder.
- Type the name of the Venue into the Name bar.
- Click Done.
Find the Venue and adjust the view in Google Earth
- In the main Google Earth search bar enter the address of the venue.
- Click Search. Google Earth will zoom into the location.
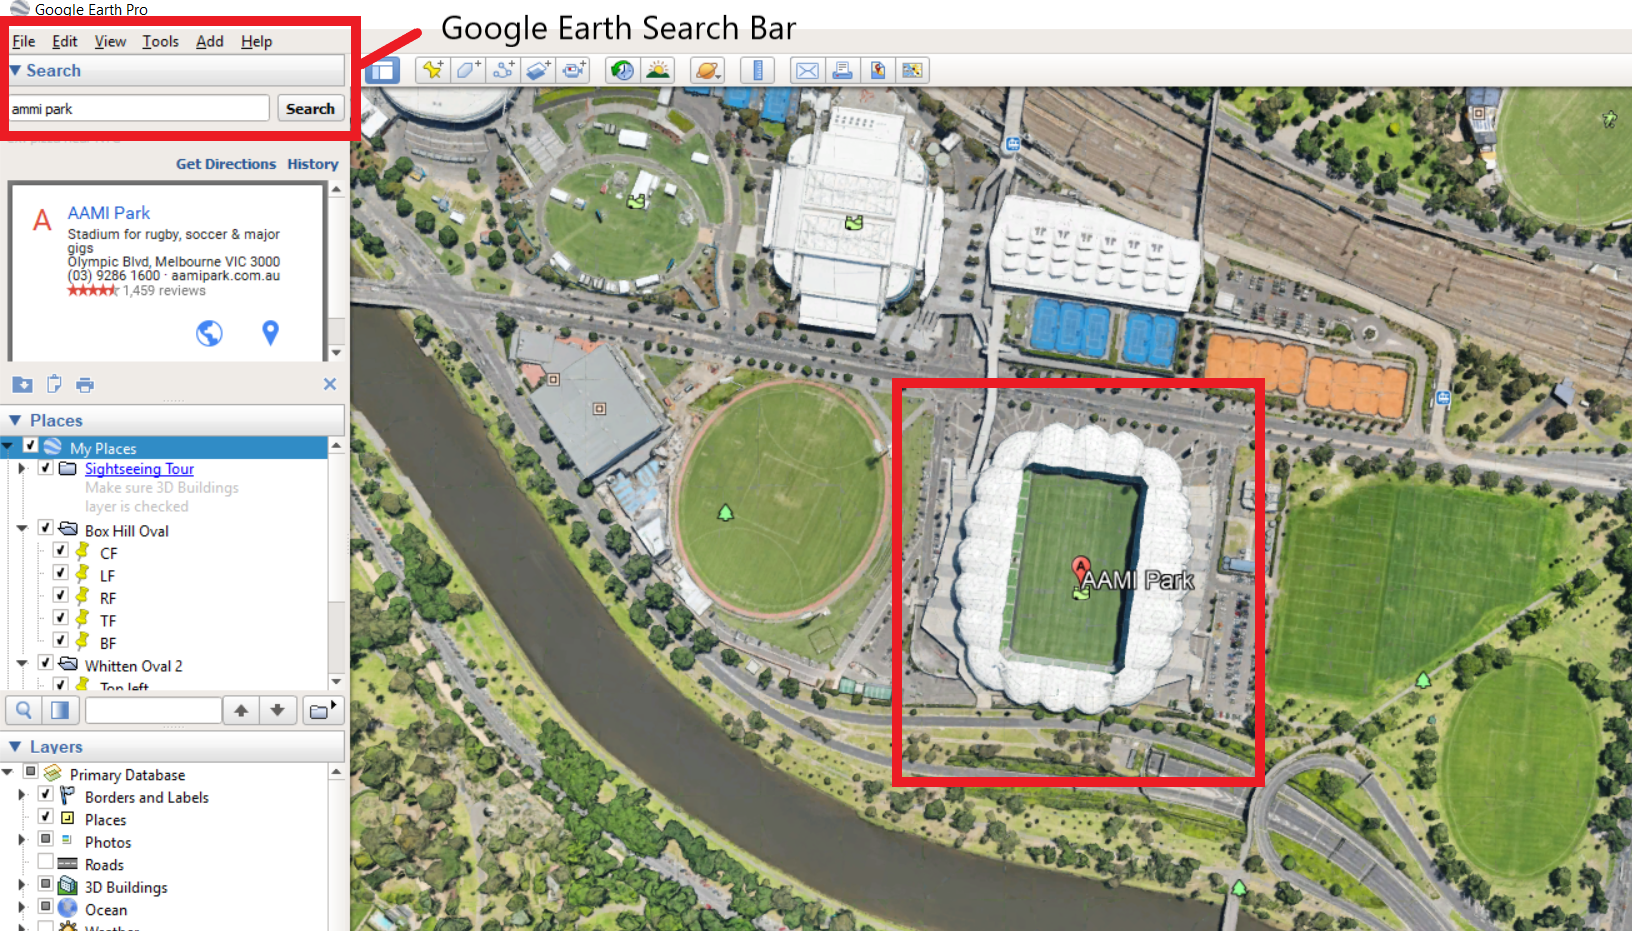
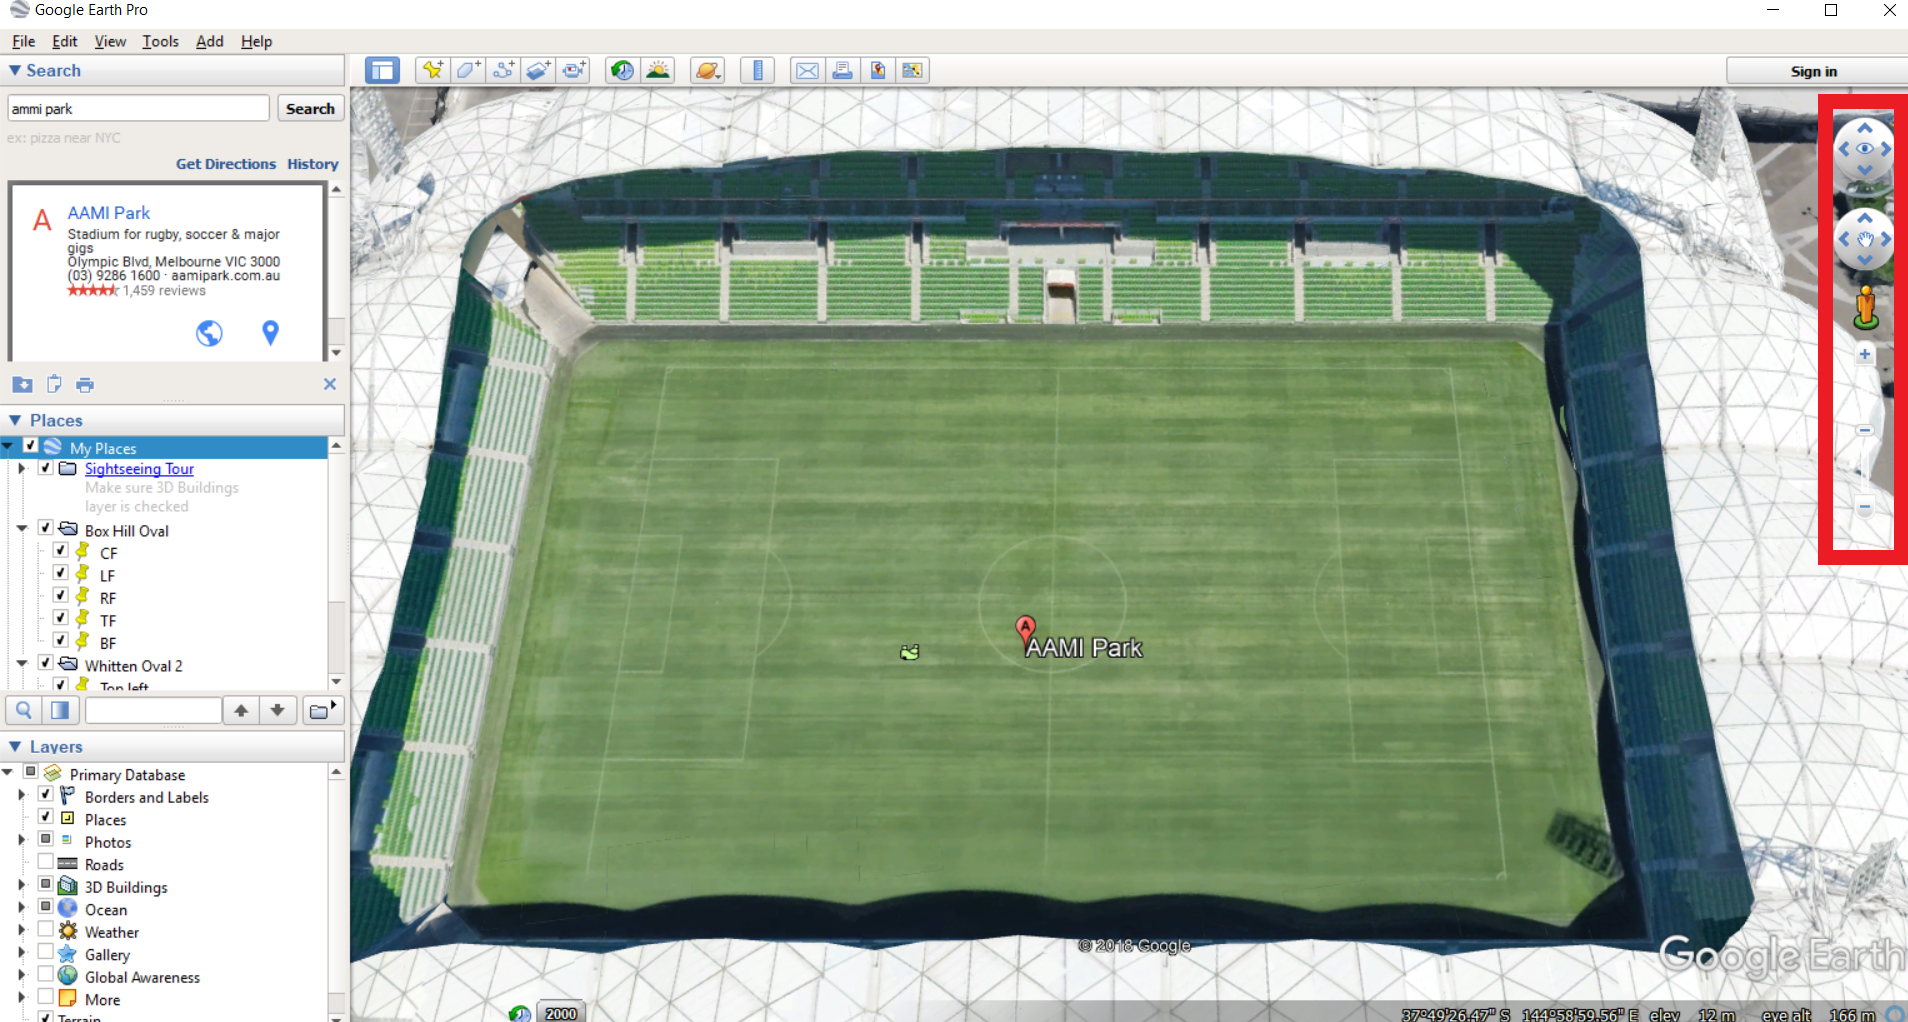
- Using the view adjustment buttons in the top right corner to adjust the venue view so the corners of your laying area are visible, and the field is positioned as you will be physically viewing it.
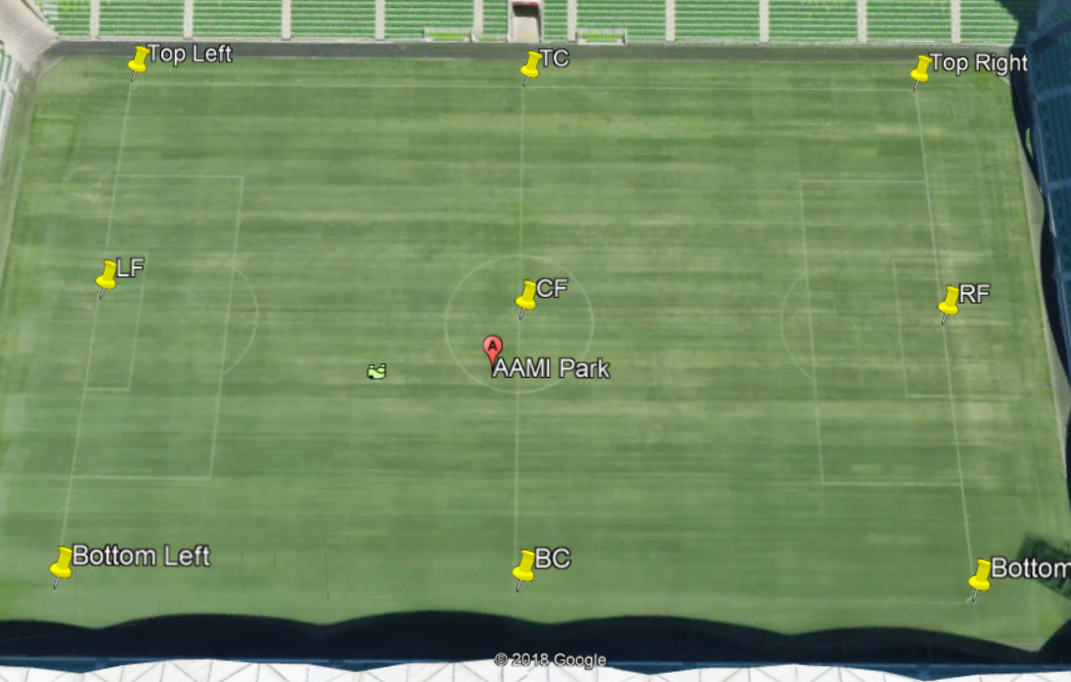
Add Placemarks in each of the 4 Corners (minimum requirement)
- Click the + yellow thumbtack button in the task bar menu.

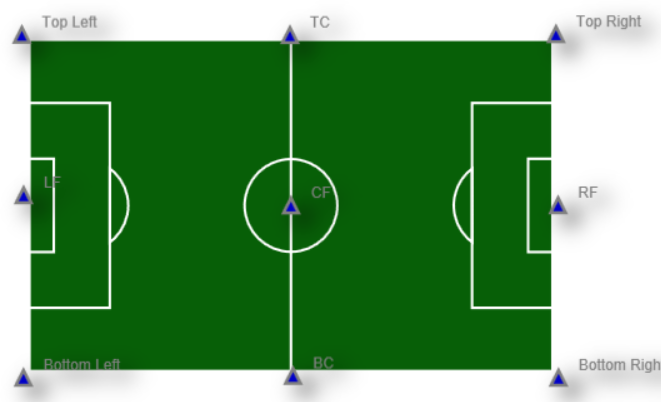
- Type the position of where you will place the Placemarker. Positions that are required to be mapped include:
- Top left (TL)
- Top Right (TR)
- Bottom Right (BR)
- Bottom Left (BL)
---------------------------Additional Positions Include------------------------------ - Top Centre (TC)
- Center Field (CF)
- Bottom Center (BC)
- Left Field (LF)
- Right Field (RF)
- Before selecting OK, move the Placemarker to the described location on the field.
- Select OK in the New Placemark menu. Note: If you select OK before you move the Placemarker, you can no longer move the Placemarker. To delete a Placemarker, right click the Playermarker, select Delete.
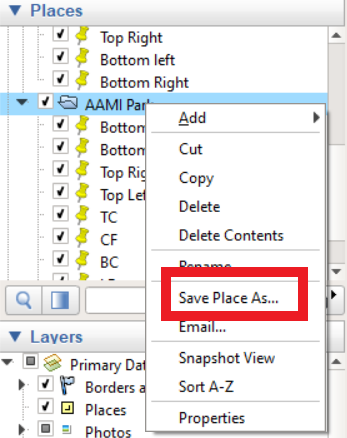
Export Venue as a KML file
- Right click on the Venue Folder in the Places box.
- Select Save Place As.
- Click the drop down menu beside Save as type.
- Select Kml (*.kml)

- Rename the file name for the Venue as desired.
- Select Save.
Step 3 - Import the KML File into the OpenField Console
- Navigate to the OpenField Console, select Start from the main Console tile screen.
- Navigate to Settings and then select the Field tab.
- Click the New Venue button. Type in the name of the Venue under Venue. Select OK.

- From the Venue and Field boxes, click the Field Type from the Field drop down menu. Note: If you want to use a graphic overlay of the screen in OpenField, please set the Field Type to Test.
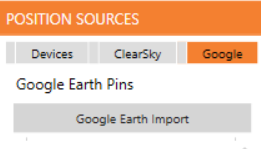
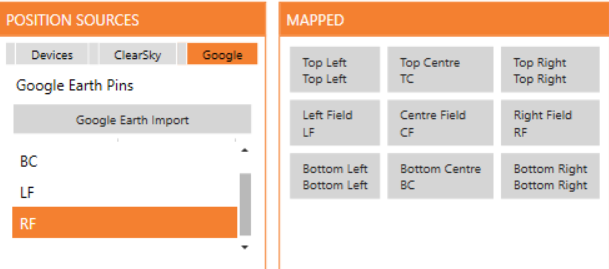
- From the Position Sources box, click the Google tab.
- Select Google Earth Import.
- Find and select the newly created venue .KML file you created in Step 2.
- Select Open.
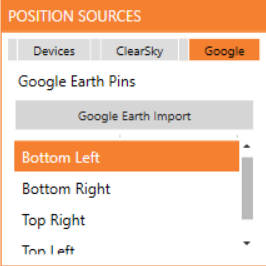
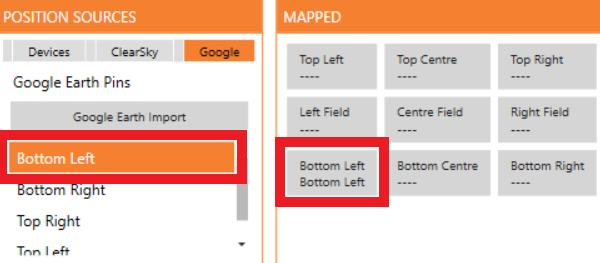
- The Placemarker Names will appear under the Google Earth Import button. Select a Placemarker from this list to highlight it in orange (i.e. Bottom Left).
- From the Mapped box, click the box that correlates to the Placemarker name. (i.e. Bottom Left will correlate to the Bottom Left box). A selected mapped box will populate the Placemarker name under the Position title.
- Repeat step 9 and 10 until all the Placemarkers are mapped.
- Select Done.
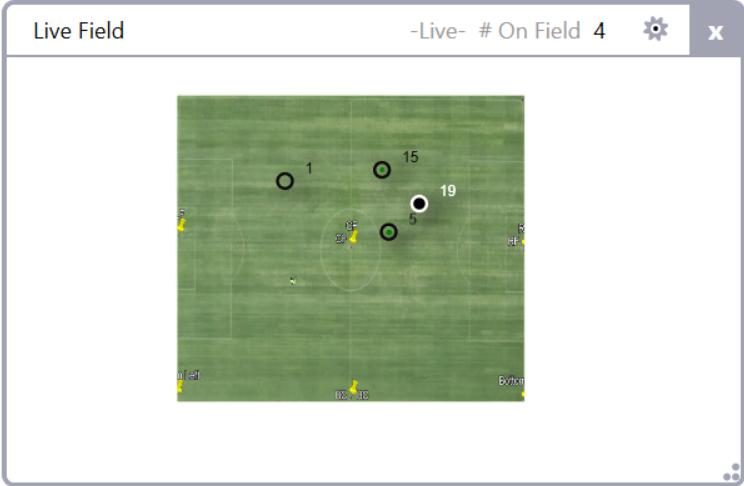
- The Field will populate on the right side of the Field Menu with the newly created Placemarkers.
- Close the Settings Menu.
Step 4 - Select the New Venue for a New Activity
Note: Before starting a new Activity, you must set the Default Venue and Field in order for the new Venue to be a tactical widget option.
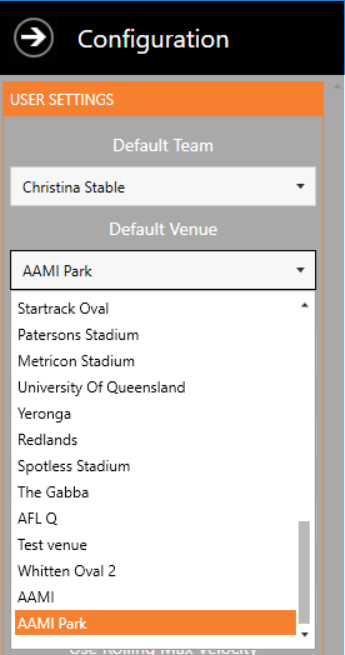
- In the Console, from the Console tile screen, click the Account username in the top right corner of the screen.

- From the Configuration menu, under Default Venue, select the newly created Venue name.
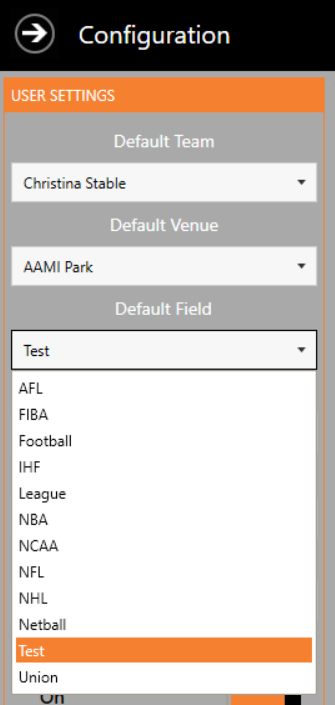
- Under Default Field, select the Field type of the newly created Venue or select Test to be able to create an graphical overlay of the field.
- From the main Console tile screen, select Start to start a New Activity.
- See guide Recording a Live Activity to set up and run a Live Activity.
Step 5 - Set an Overlay if a Field Type of Test is Created
Create an overlay image using Google Earth
- Open the Venue .kml file in Google Earth.
- Using the view adjustment buttons in the top right corner to adjust the venue view so that the field lays flat and you can see each of four corner or every aspect of the field.
- Using the snipping tool on your PC, cut around the outside lines of the Field.
- Save the image as a .png file.
Import the overlay in the new Activity
- Ensure the Default Field is set to 'Test' in the Configurations menu. See guide Console Configuration Settings for more information before you start a new Activity.
- From the main Console tile screen, select Start to open a New Activity activity timeline screen.
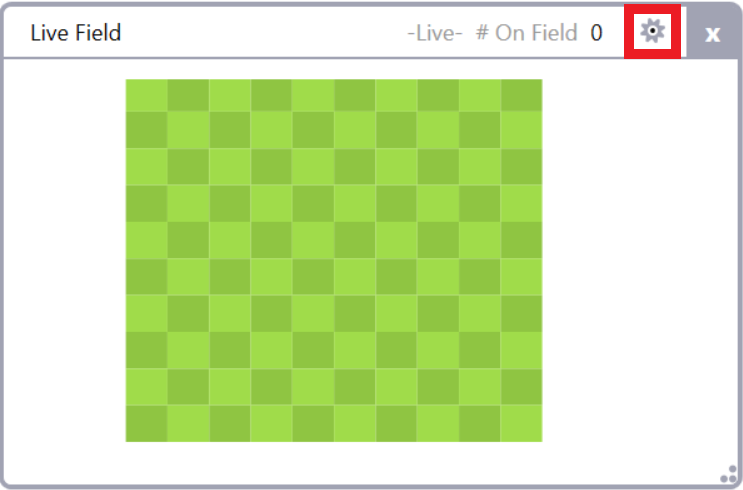
- In the Dashboard, right click on any white space and select New Widget. Select Tactical and then select Live Field.
- Select the cog Settings icon.
- Select the Parameters tab.
- Toggle Set to On.
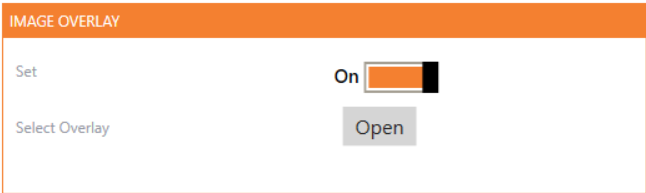
- Select Open. Select the overlay .png image that you created and click Open.
- Select Close.
Related articles